TDD your Infrastructure Code with Kitchen and Ansible
If you are following along, you will need to install VirtualBox, Vagrant and Ansible as walked-through in my previous post.
In this post, we will go through the steps for installing test-kitchen. Test-kitchen provides a test harness for automated testing of configuration management tools like Ansible. We will also be using Serverspec which is used to test the intended state.
Goals
In this tutorial, we will:
- Upgrade Ruby on your machine if necessary
- Install Bundler
- Install Test-Kitchen and Serverspec
- Write a test using Serverspec
- Write the configuration to make the test pass
Introduction
With test-kitchen, you execute an Ansible playbook and the expected state of a system after it runs, and then Serverspec will confirm if your expectations are met. Test-kitchen is a Ruby-based tool so you will need Ruby installed. This is the first time I’ve used Ruby so to clarify some terminology:
- A Ruby Gem is a module or library that you can install and use in every project on your machine.
- RubyGems is a package manager for the Ruby programming language that provides a standard format for distributing Gems.
- https://rubygems.org is the public repository to host Gems.
Vim
I’ll be using Vim which is a text editor on Unix-like operating systems. This is useful to learn if you SSH into
remote machines often. To prevent repeating the commands in this post, whenever you see the Vim command, you can refer
to this table to see how to insert and save text in files. I’ll do the first one with you.
| To open a file in Vim | Vim filename |
| To insert text | Press i on your keyboard to insert text. You will see the bottom of the terminal window change to -- INSERT -- |
| To save the changes |
Press ESC on the keyboard to come back to command mode then Shift + : then w + q then Enter to finish saving your changes |
Step 1 - Upgrade Ruby (Optional)
Apple Macs come pre-installed with Ruby but I had some problems running some of the code on an older version of Ruby so I used Homebrew to upgrade. Homebrew is a package managment system that simplifies the installation of software on the Mac operating system.
To install Homebrew, just follow the simple instructions on their website.
Once Homebrew is installed, run:
brew install ruby
Executing ruby --version displayed ruby 2.4.1p111 (2017-03-22 revision 58053) [x86_64-darwin15] on my machine.
If you do not want to upgrade your Ruby version then feel free to continue and maybe it will just work for you.
Step 2 - Install Bundler
The recommended way to install test-kitchen is using Bundler - Bundler provides a consistent environment for Ruby projects by tracking and installing the exact Gems and versions that are needed. I think this is like Maven from the Java world.
sudo gem install bundler
Step 3 - Install Test-Kitchen
Create a new directory which will contain all your virtual machine installations. I normally put all my projects under a directory called development. Create a directory called virtualmachines and inside this create a directory called ansible-test-kitchen.
mkdir virtualmachines && cd virtualmachines
mkdir ansible-test-kitchen && cd ansible-test-kitchen
On my machine, the full path looks like this:
/Users/pateli03/development/virtualmachines/ansible-test-kitchen
You will now need to tell Bundler which Gems to install. Create a file called Gemfile in the ansible-test-kitchen directory.
touch Gemfile
vim Gemfile
Press i on your keyboard to insert text. You will see the bottom of the terminal window change to -- INSERT --
Insert the following contents to install the Gems we require:
source 'https://rubygems.org'
gem 'test-kitchen', '~> 1.20.0'
gem 'serverspec', '~> 2.41.3'
gem 'kitchen-ansible', '~> 0.48.1'
gem 'kitchen-vagrant', '~> 1.3.0'
To save the changes:
press ESC on the keyboard to come back to command mode
then Shift + :
then w + q
then Enter to finish saving your changes.
(Note: Don’t enter the + symbol)
At the time of writing, these were the latest Gems. You can check rubygems.org for any newer versions:
- test-kitchen - Provides a test-harness to execute infrastructure code.
- serverspec - Serverspec tests the intended state of machines by SSH’ing to the machines. This is the assertion library.
- kitchen-ansible - This tells test-kitchen how to integrate with Ansible playbooks.
- kitchen-vagrant - This tells test-kitchen which environment to use and how to interact with it.
It will automatically generate a Vagrantfile and then run
Vagrant upto create the environment. It will then run the Ansible playbook inside this new virtual machine before the tests are run.
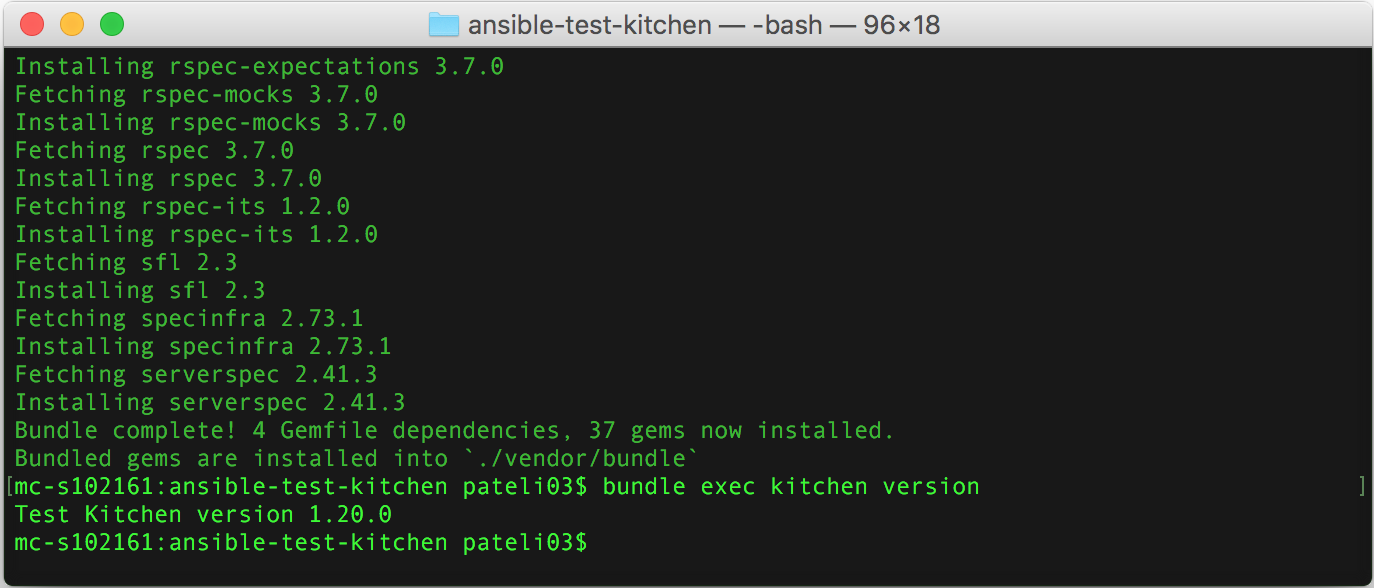
From terminal, run bundle install --path vendor/bundle
The --path option will install your dependencies to a location other than your system’s Gem repository.
In this case, it will install them to vendor/bundle. This will install all the dependencies required to run test-kitchen.
Run bundle exec kitchen version to confirm the binary is ready to use. This version should match the version specified
in the Gemfile.

Step 4 - Specify Environment to Run the First Test
For our first test, we will install the MySQL database using an Ansible playbook and the test will confirm the database is installed and running.
Let’s specify our environment by creating a .kitchen.yml file in the ansible-test-kitchen directory and by defining a driver, provisioner and platform for the test.
touch .kitchen.yml
vim .kitchen.yml
---
driver:
  name: vagrant

provisioner:
  name: ansible_playbook
  playbook: provisioning/playbook.yml
  hosts: all
  require_chef_for_busser: false
  require_ruby_for_busser: true

platforms:
  - name: ubuntu/xenial64

suites:
  - name: default

verifier:
  ruby_bindir: '/usr/bin'
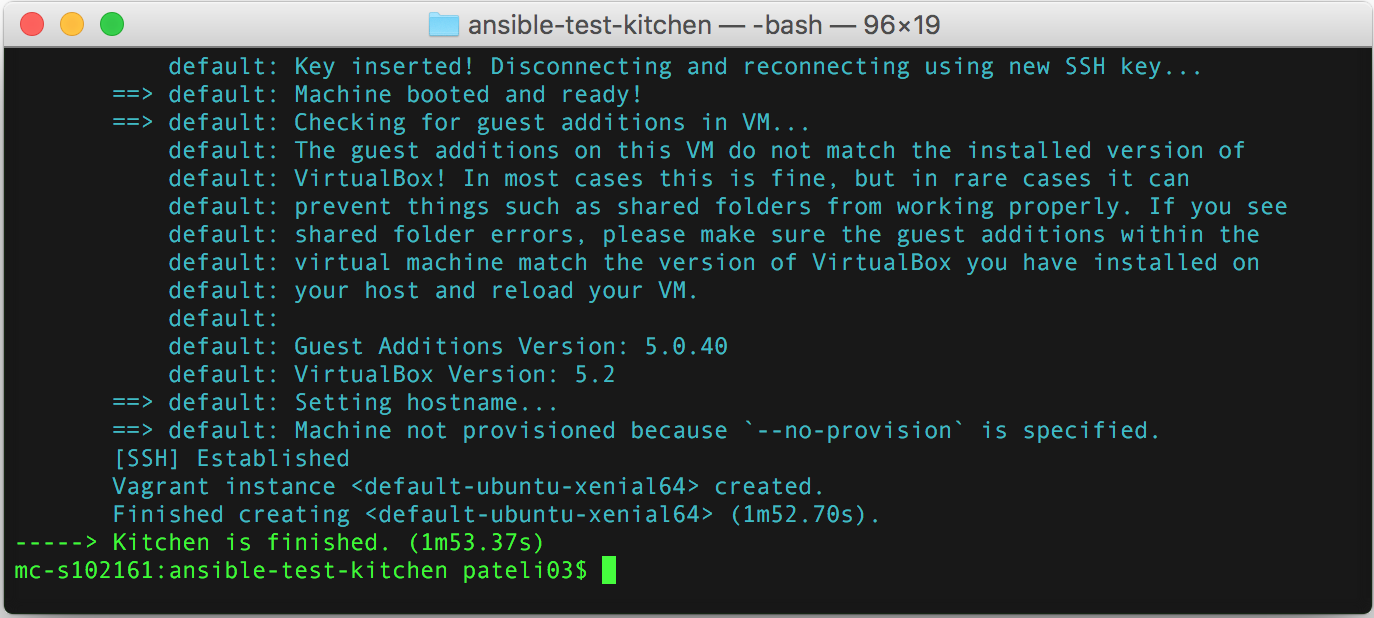
Save the file and run bundle exec kitchen create to start the machine. This will take a few minutes:

The .kitchen.yml file is telling test-kitchen to use Vagrant to manage the test machine, and to install ubuntu/xenial64.
I originally had some problems here as previously I was using ubuntu/trusty64 which has an older version of Ruby (1.9.1) installed. The Busser dependency requires a newer version of Ruby.
Busser is a test setup and execution framework designed to work on remote nodes, https://github.com/test-kitchen/busser
So not really being familiar with the Linux ecosystem, I sought assistance from Stackoverflow
kitchen-ansible will start by installing Ansible and other dependencies on the machine. One of these dependencies is called busser, which is how the tests we are going to write soon get into the right place on the virtual machine.
Step 5 - Create our Test-Case
The default Busser test runner uses the following directory structure relative to .kitchen.yml file
test/integration/SUITE/RUNNER
Thus creating this directory:
mkdir -p test/integration/default/serverspec
cd test/integration/default/serverspec
Create a spec_helper.rb file to include the Serverspec Gem and configure it for use with test-kitchen
touch spec_helper.rb
vim spec_helper.rb
Copy-and-paste the following contents into spec_helper.rb:
require 'serverspec'
set :backend, :exec
Next we create the test file:
touch default_spec.rb
vim default_spec.rb
Test files must end in *_spec.rb and “default” is the name of our suite if you refer to the .kitchen.yml file above.
Copy-and-paste the following tests:
require 'spec_helper'

describe 'mysql installation' do
	context package('mysql-server') do
		it { should be_installed }
	end

	context service('mysql') do
		it { should be_running }
	end
end
This is quite self-explanatory, the test asserts the mysql-server package is installed and that it is running.
Step 6 - Create the Ansible Playbook
The final piece is to create the Ansible playbook, the location of this was specified in the .kitchen.yml file – provisioning/playbook.yml
In the same location as your .kitchen.yml file create a directory called provisioning and a file called playbook.yml. This is an Ansible playbook which contains a set of instructions to manage the configuration of remote machines. I’ll go into more detail on the configuration format in subsequent posts but be aware YAML syntax is whitespace sensitive. YAML uses spaces and the suggested indentation is 2 spaces.
If you have followed along, you will need to run cd .. 4 times to get back to ansible-test-kitchen directory.
mkdir provisioning && cd provisioning
touch playbook.yml
vim playbook.yml
Copy-and-paste the following contents:
---
- hosts: all
  tasks:
    - apt: name=mysql-server state=installed
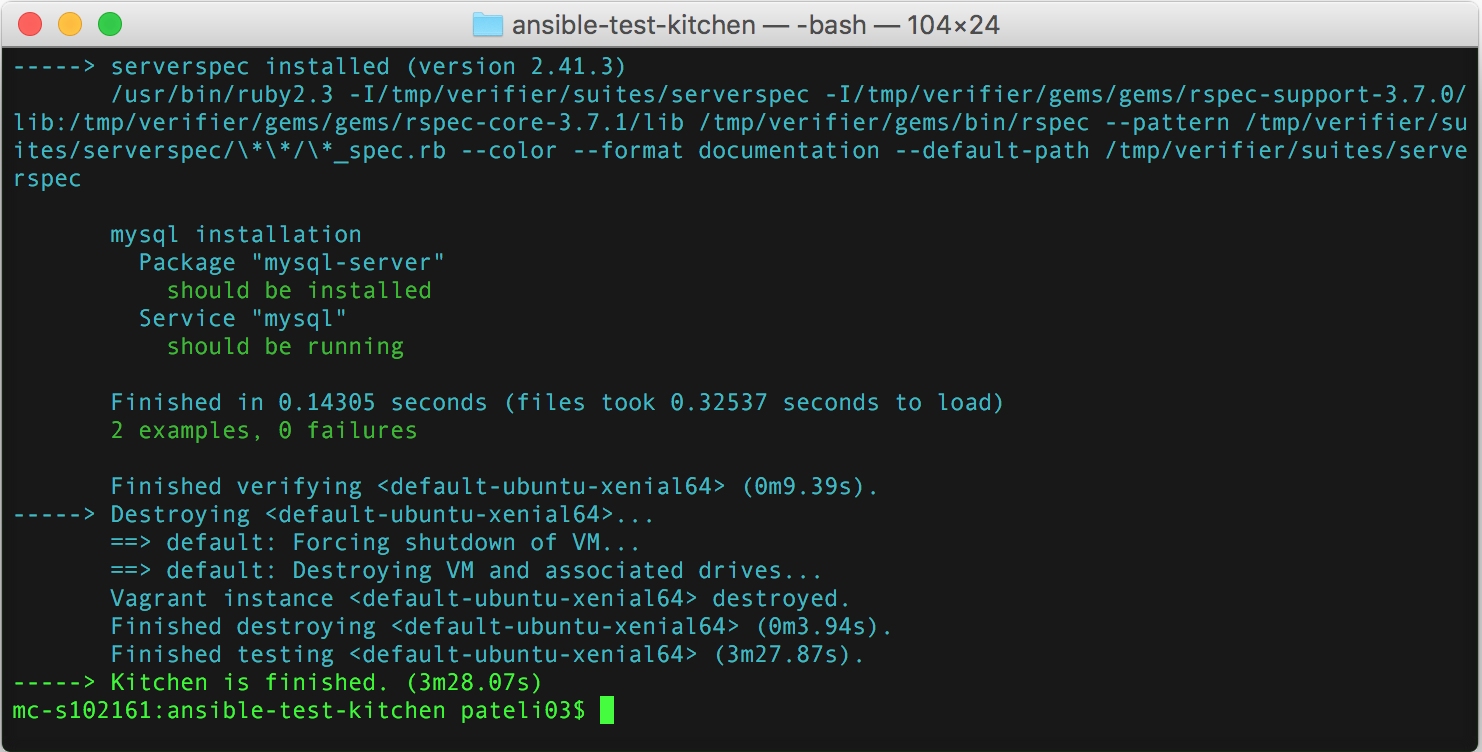
Now for the grand finale, execute the following command which should create the virtual machine with MySql, install Serverspec on the virtual machine and then run the tests.
cd .. to change directory to the root of the project and then:
bundle exec kitchen test
If all works well, you should see the tests pass as you can see in green:

Summary
Test-Driven Development (TDD) is an approach to writing a test before your implementation code. In this post we looked at writing a test using Serverspec and then creating an Ansible playbook to make the test pass on a virtual machine. Test-kitchen was used to provide the harness to run the infrastructure code in isolation.
So far we have installed VirtualBox, Vagrant, Ansible and Test-Kitchen. My next few posts will be concentrating more on Ansible and extending our use of TDD to verify our playbooks.
Commands used in this post
| Command | Description |
| sudo gem install bundler | Installs a Ruby-based tool called Bundler. Bundler helps install the required Gems in your environment |
| bundle install --path vendor/bundle | Installs your Gem dependencies to vendor/bundle |
| bundle exec kitchen version | Confirms your Gem is installed, in this case the test-kitchen Gem |
| bundle exec kitchen create | Creates the environment that test-kitchen will use |
| bundle exec kitchen test | Runs the Serverspec tests |